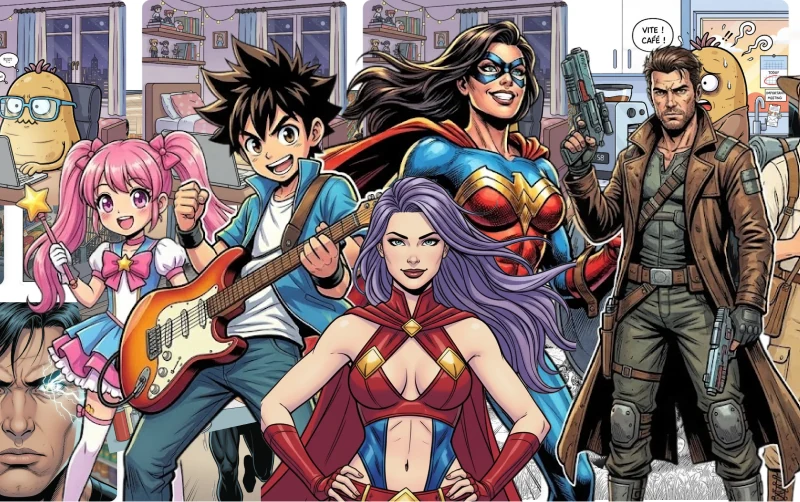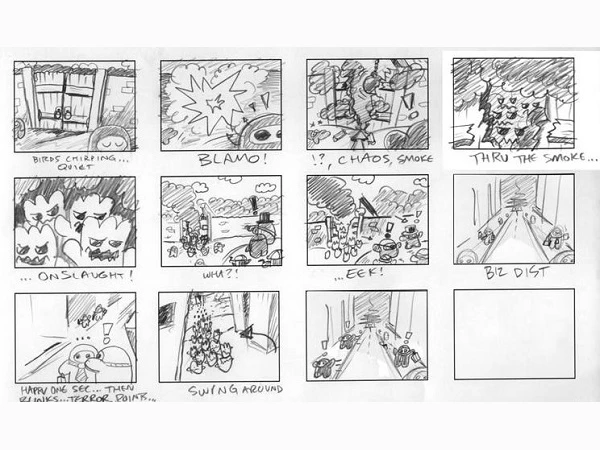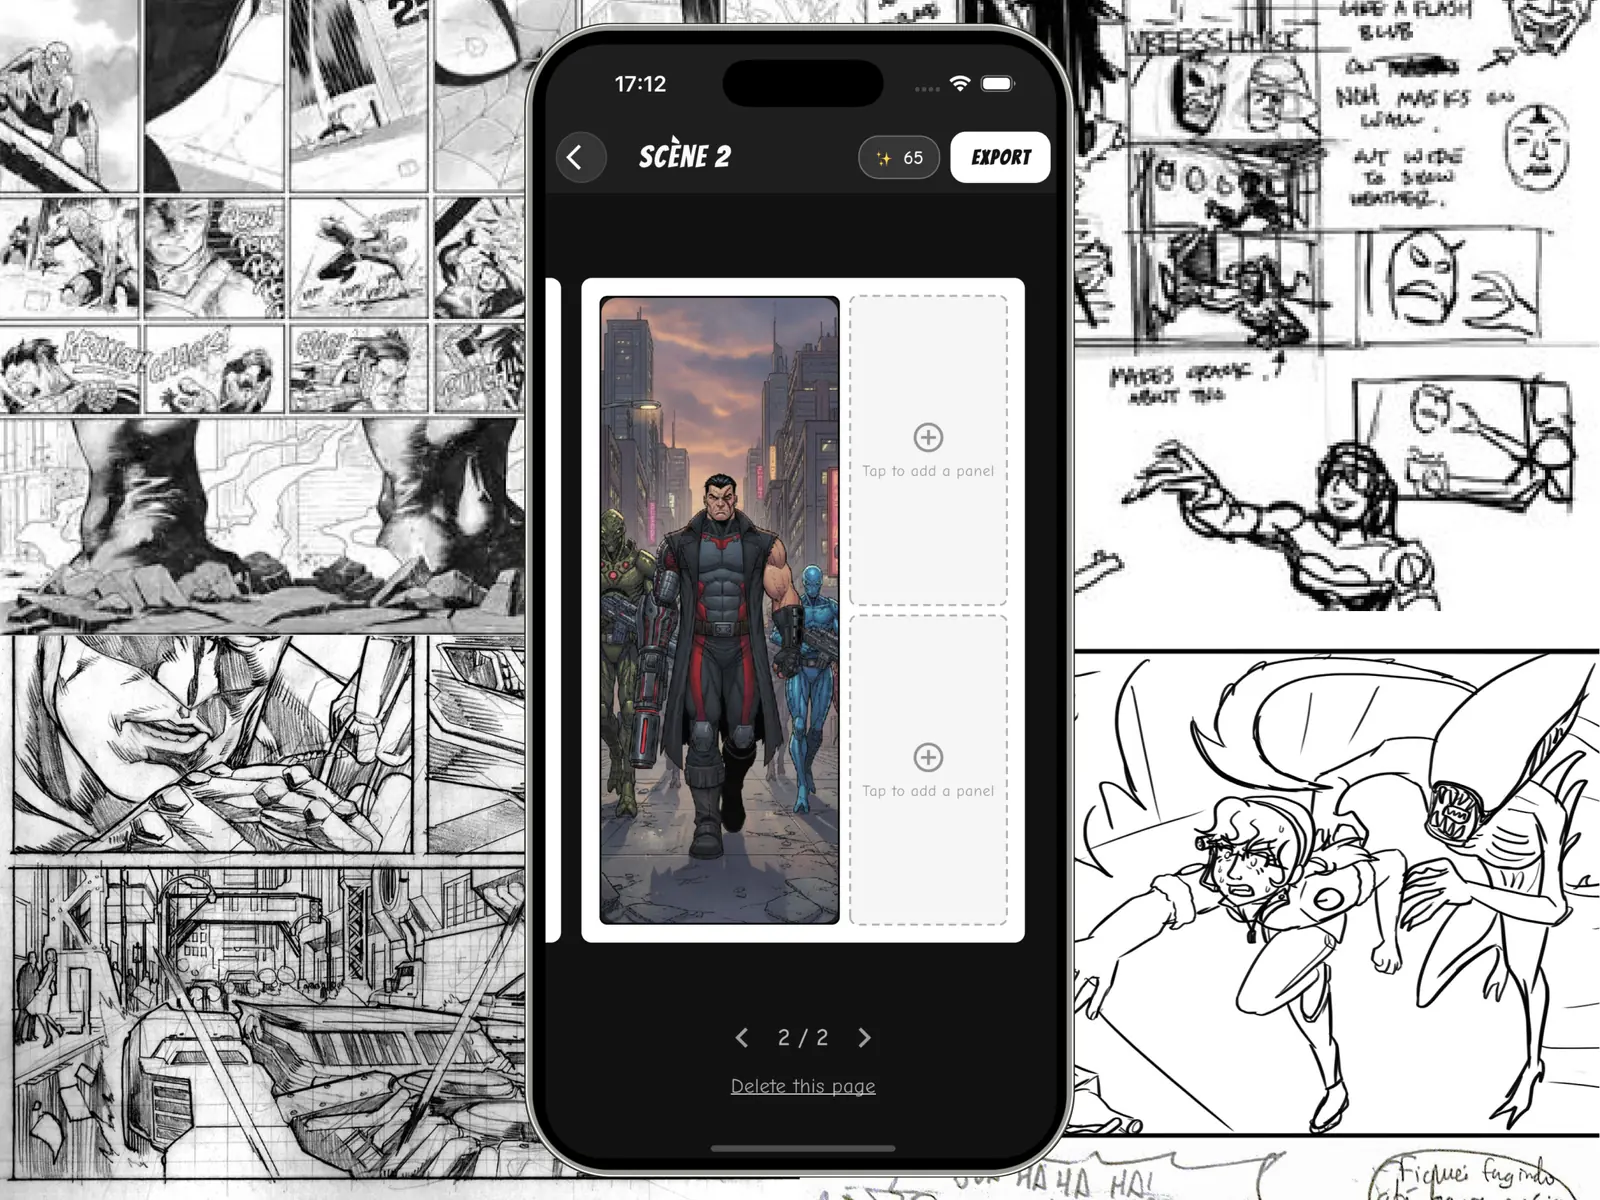
You can make a whole comic on an iPhone, from the first line of the script to the image you post. You don’t need a computer or a drawing tablet. You don’t even need to draw.
This guide shows three ways to do it: with an AI comic app, on paper with a scan, or on an iPad if you want to draw it yourself. The examples follow one short story: Nora, 10, looks for her lost cat in a night market.
The short version
- Write a short script. Say what each panel shows and who says what.
- Pick a format: a strip, a page, or a webtoon you scroll.
- Pick an art style and keep it to the end.
- Make the panels: with AI, on paper, or on an iPad.
- Add the words: speech, thoughts and captions.
- Export the images to your Photos library, then share or print them.
Before you start: the script and the style
It’s tempting to open an app and start making pictures. Wait. Two choices come first, and they shape every panel you make.
Write the script first
An app can draw a panel, but it can’t guess your story. Before you make a single image, write down:
- the story in two or three lines;
- what happens on each page, one line per page;
- each panel: what we see, who is in it and what they do;
- the words: dialogue, captions and sound effects.
Here is Nora’s story in two lines:
Nora, 10, searches a night market in the rain for her lost cat, Biscuit. She finds her on the roofs. Biscuit is now the size of a bus.
The Notes app on your iPhone is all you need to write it. Our guide on how to write a comic script covers each step, with Nora’s first two pages as a script and a free template you can paste into Notes.
Pick a format
The format decides how people read your comic. On a small screen, the wrong one is hard to read.
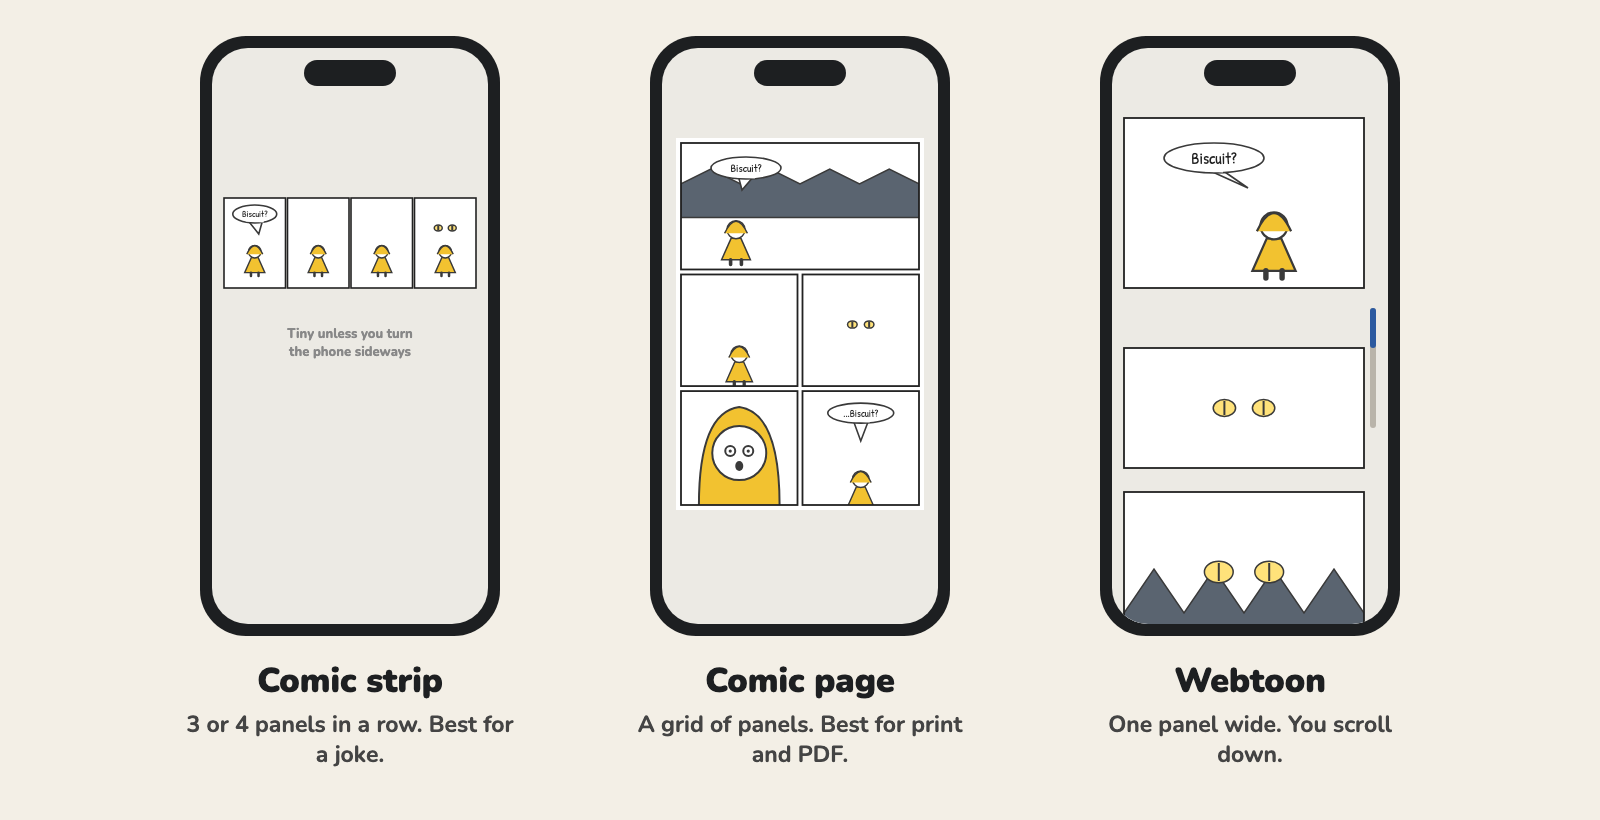
- Comic strip: three or four panels in a row, often with a joke in the last one. On an upright phone, a strip shows up small, so keep the words short. Try the comic strip maker.
- Comic page: panels in a grid, like a printed comic book. Pick this one if you want to print your comic or make a PDF.
- Webtoon: one panel wide, read by scrolling down. This is the format built for phones. See the webtoon maker.
Pick an art style
Pick a style that suits the story, then stick to it. A comic that changes style halfway looks like two comics.
- Manga: black and white, big eyes, fast lines. It suits action, school stories and drama. See the AI manga maker.
- Webtoon: clean lines and full color. It suits romance and everyday life.
- US comics: bold ink and deep shadows. It suits heroes and fights. See the superhero comic maker.
- Cartoon: round shapes and bright colors. It suits jokes and stories for kids. See the cartoon maker.
Nora’s story takes place at night, in the rain, with a giant cat. It would work as a black and white manga or as a color webtoon.
For a quick joke, stick figures are enough. Our free rage comic maker builds one in your browser.
Pick your method
| AI app on iPhone | Paper, then iPhone scan | iPad | |
|---|---|---|---|
| Drawing skill | None | Yes | Yes |
| What you need | An iPhone | Paper, pencil, black pen | An iPad, a drawing app, ideally an Apple Pencil |
| Cost | You pay per image | A pen and paper | The iPad, the Pencil and the app |
| Best for | Writers who don’t draw | People who like to draw by hand | People who want to draw on a screen |
The next section covers the AI way. If you’d rather draw, skip to If you’d rather draw it.
How to make a comic on iPhone with Emaki
Emaki is our comic app for iPhone. You describe each panel in words, and it draws the panel in the style you picked. Here is how to make Nora’s comic with it.

Step 1: Create a project and pick the style
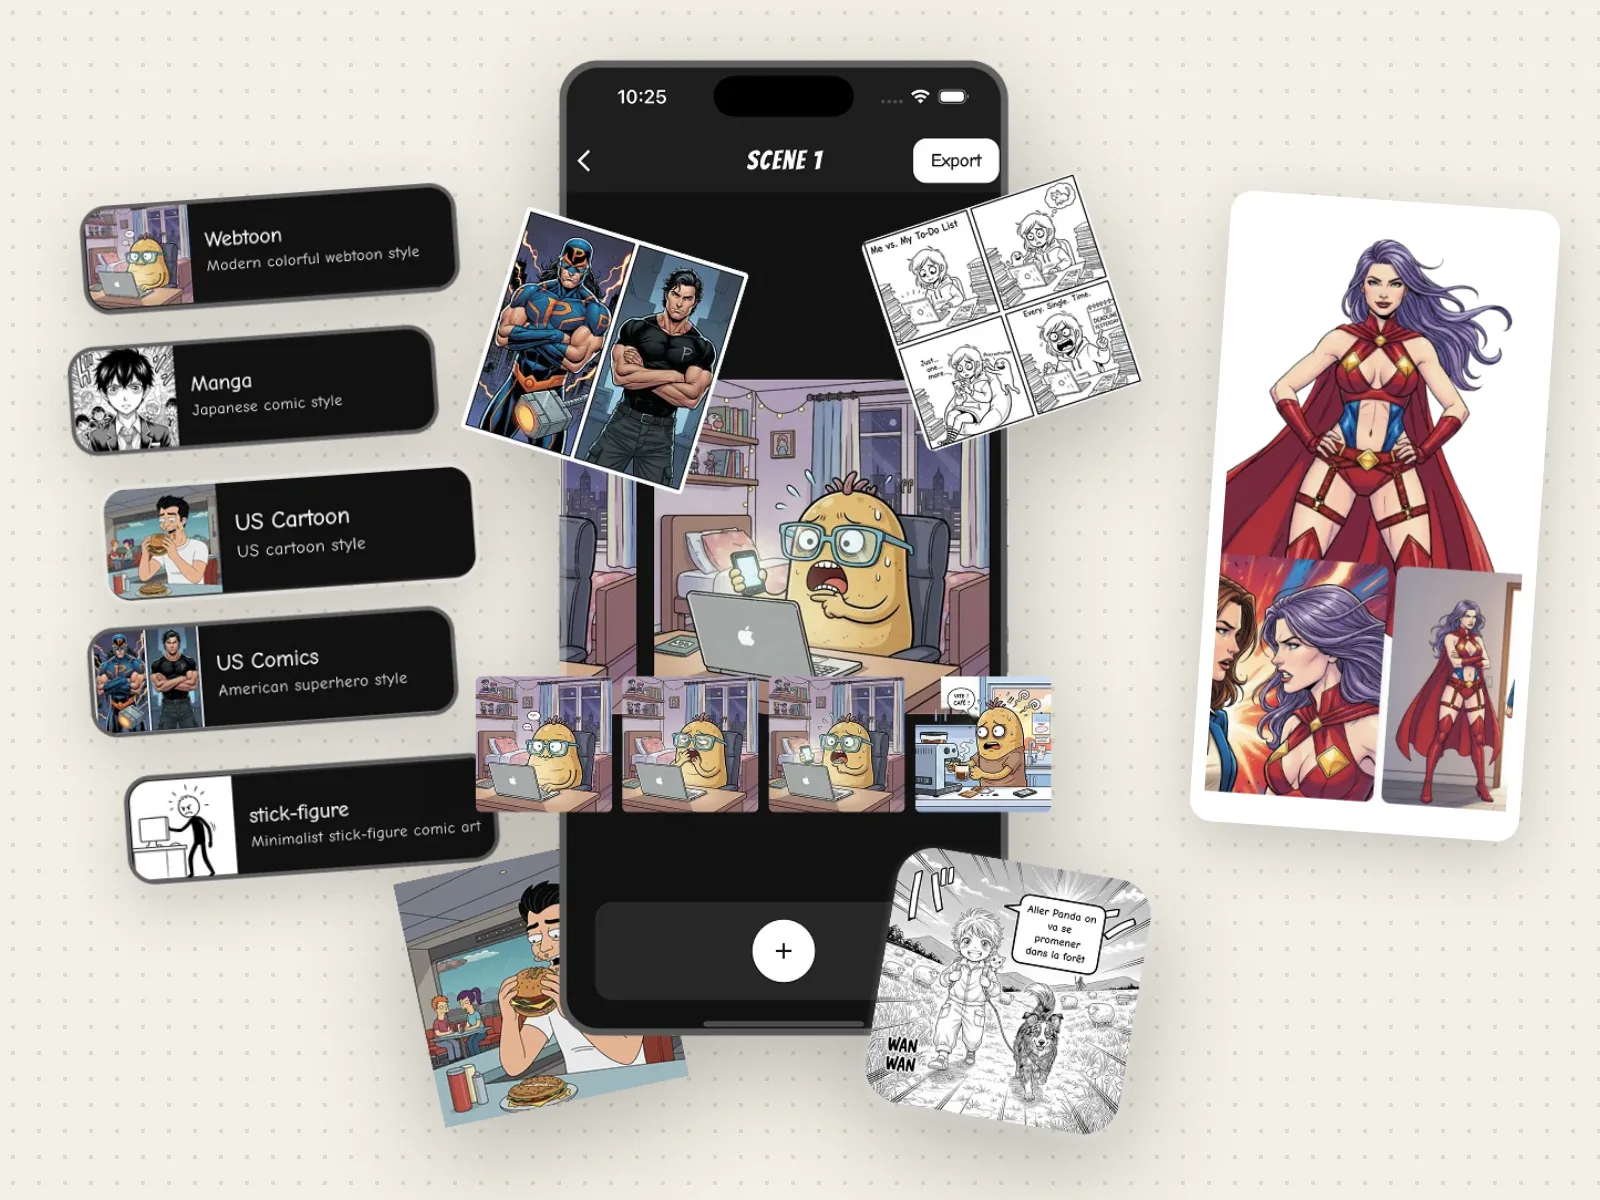
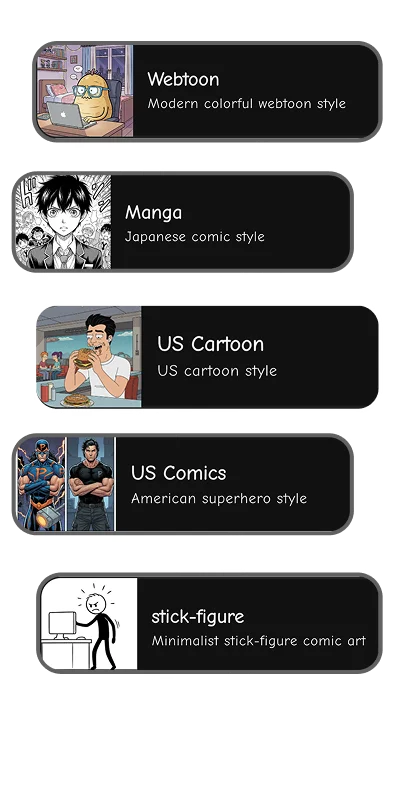
Start a new project, give your comic a name, then choose its style. The list includes Manga, Webtoon, US Comics, US Cartoon, a dark style and stick figures. Take the one you chose before you started.
Step 2: Create your characters
Make each main character once, before any panel. Give them a name and describe how they look: hair, face, clothes, and one detail that stands out. You can also set their age, build and role in the story, or start from a photo.
For Nora: 10-year-old girl, short black hair, yellow raincoat with the hood up, rubber boots too big for her.
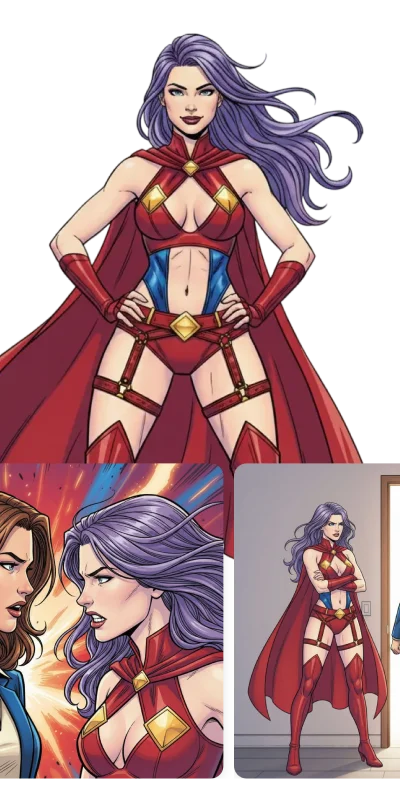
From then on, write the character’s name in each panel description. The app draws them with the same look each time, so Nora keeps her face and her yellow coat from the first panel to the last. The AI character creator page shows how this works.
Step 3: Choose a layout
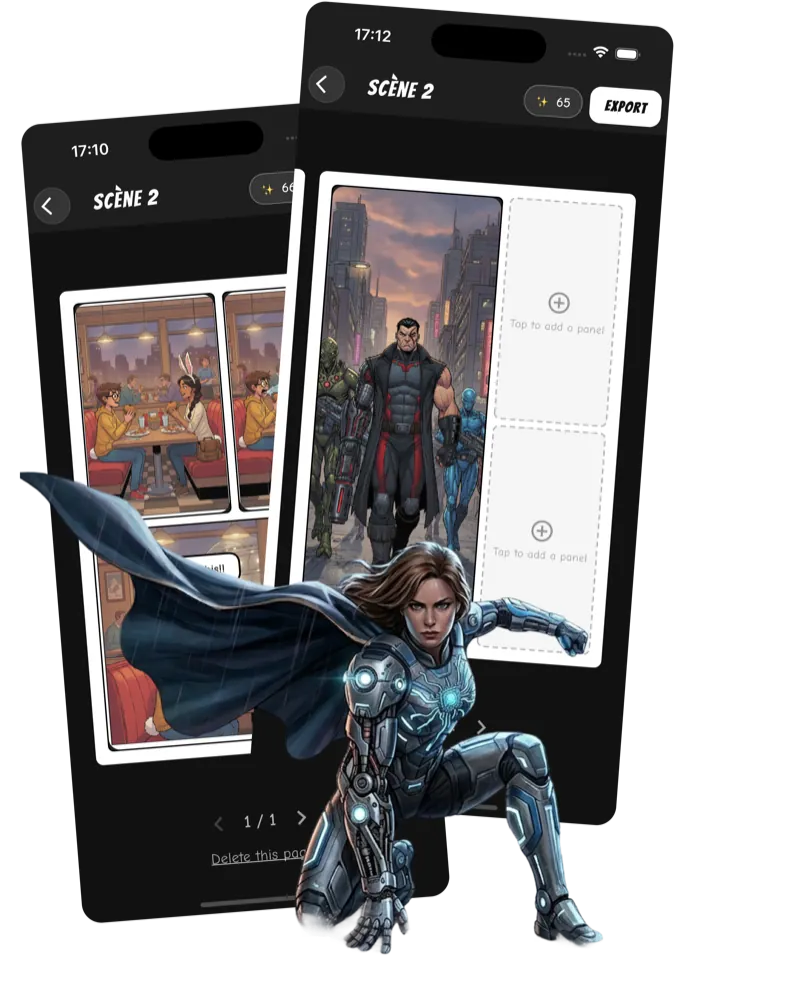
Add a scene and choose how its panels sit:
- Strip: all the panels in one row.
- Comic page: panels on pages. For each page, you pick one of six layouts.
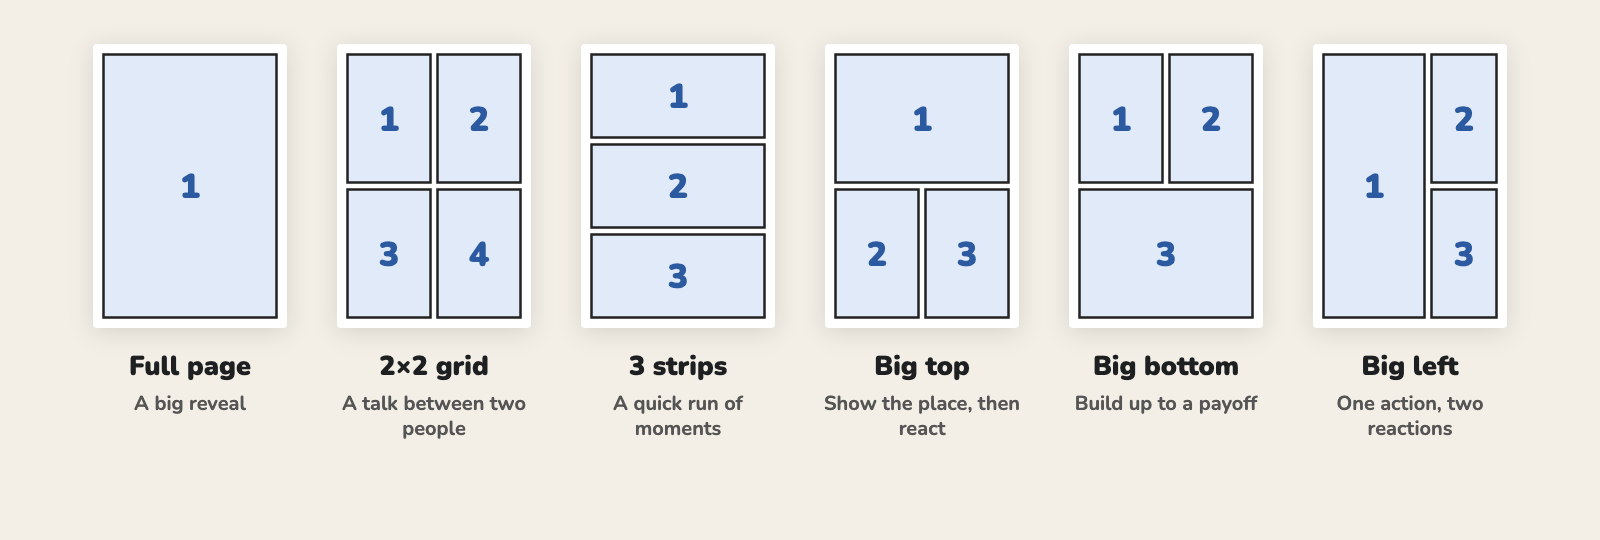
Match the layout to the moment. Nora’s first page could use Big top: a wide view of the market in the rain, then two small panels as she asks around. Her second page is the reveal, Biscuit curled across three roofs, so it gets the Full page.
Step 4: Describe each panel
Tap an empty panel and type what it shows: the place, the action and who is there. Tap a character to add their name to the description. Then tap Generate Image. If you like the result, tap Validate. If not, tap Retry.
Your script does most of the work here. Copy each panel description from it, and keep the habits it taught you: say how close we are, who is in the shot, and the one detail that matters. For example:
Wide shot. A night market in the rain, paper lanterns over the stalls. Nora shines a flashlight under a fruit stall.
When a panel must match the one before it, turn on Use an image as reference and pick that panel. The app uses it to keep the scene looking the same.
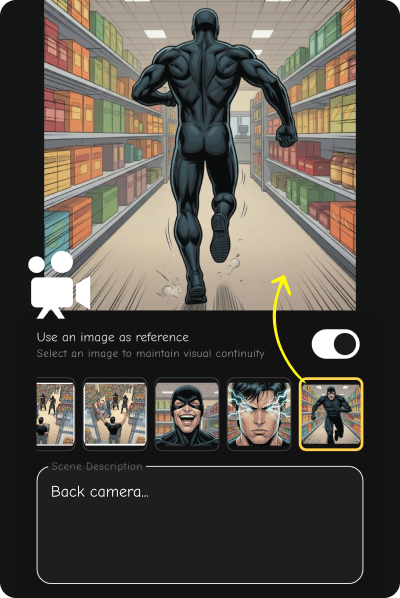
Each image you generate uses one credit. A cover costs two credits for a set of three to choose from.
Step 5: Add speech bubbles
Tap Bubble, type the line, then pick its type: Speaking, Thinking or Narrative (a caption). Drag the bubble into place and turn its tail toward the speaker. The speech bubble maker page shows each type.
Keep each bubble short. Dark Horse’s script format guide sets a limit of about 25 words per balloon. On a phone screen, stay well under that.
Step 6: Export and share
Tap Export and choose what to save:
- For a strip: the whole strip as one long image, or each panel on its own.
- For pages: one image per page, or one per panel.
The images go to your Photos library. From there, post them, send them, or print them. For a webtoon, save each panel on its own and post them in reading order.
If you’d rather draw it
AI is one way. If you like to draw, you have two good options, and neither needs a computer.
On paper, then scan it with your iPhone
Paper is still the cheapest way to draw a comic, and your iPhone can turn the pages into clean files.
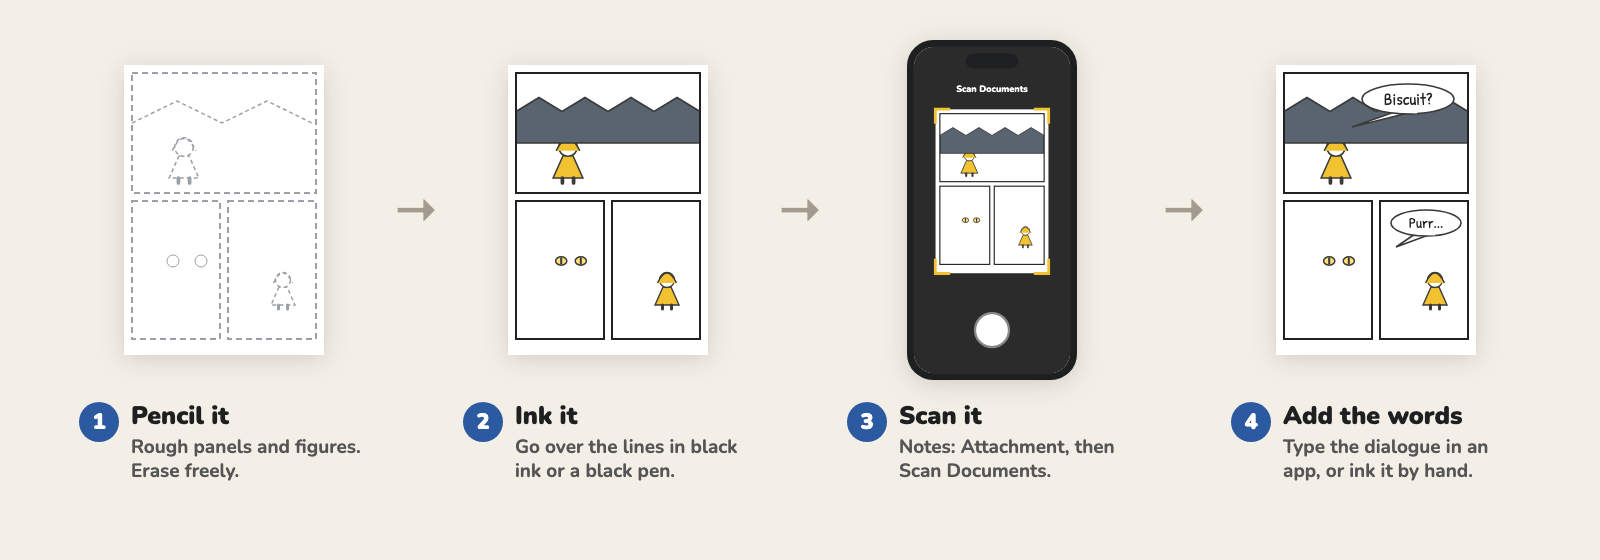
- Pencil the page. Draw the panel borders and rough figures. Erase as much as you like.
- Ink it. Go over the lines you want to keep with a black pen. A scan picks up black ink far better than pencil.
- Scan it. In the Notes app, open a note, tap the Attachment button, then tap Scan Documents. Hold the phone over the page. In Auto mode, it takes the scan by itself. In manual mode, tap the shutter button, drag the corners to fit the page, then tap Keep Scan. Tap Done when you have all your pages (Apple’s guide). The Files app can scan too.
- Add the words. Letter them by hand in ink, or import a photo of the page into a drawing app and type them on top.
For a clean scan, work in daylight, lay the page flat, and scan one page at a time.
On an iPad
The Apple Pencil works with the iPad, not the iPhone. If you want to draw on a screen with a pen, an iPad is the better tool. Four apps worth a look (US App Store prices, November 2026):
- Clip Studio Paint: built for comics, with “panel frames, speech balloons, text, effect lines, and screen tones”. It runs on a paid plan, monthly or yearly, after a 30-day free trial. The EX plan adds tools for comics with many pages. There is also an iPhone version, free for 30 hours a month.
- Procreate: $12.99, paid once, iPad only. It’s a drawing app first: it has no tool made for panels or speech bubbles, so you draw those yourself. Its iPhone version, Procreate Pocket, costs $5.99.
- ibis Paint X: free, with ads, on iPhone and iPad. Its Frame Divider tool splits a page into panels.
- MediBang Paint: free. You make panels by slicing across the page, and it comes with free fonts for the words.
Emaki runs on iPad too, if you want a bigger screen for the AI way.
Tips for a small screen
- Keep the script open in Notes. Copy each panel description from it as you go.
- Read the words at real size. Open the export in Photos without zooming in. If you can’t read a bubble, cut words.
- Use fewer panels per page. A page of nine panels is hard to read on a phone. Three or four reads well.
- Give a reveal its own panel. In a webtoon, leave empty space before it, so the reader has to scroll to see it.
Common mistakes
- Starting without a script. You end up with nice pictures that don’t tell a story.
- Changing style halfway. Pick one at the start and keep it.
- Leaving the name out of a panel description. In Emaki, the name tells the app to use the look you set up. Without it, Nora may get a new face.
- Two moments in one panel. “Nora opens the door and runs down the stairs” is two panels.
- Too many words. Every word covers part of the picture.
FAQ
Can you make a comic on iPhone for free?
Yes. Draw on paper and scan it with the Notes app, or draw in a free app such as ibis Paint X or MediBang Paint. AI comic apps charge for images. In Emaki, a new account gets one free credit, which makes one image. After that, you buy credits or subscribe. Bought credits never expire.
What is the best app to make a comic on iPhone?
It depends on whether you draw. If you don’t, an AI comic app like Emaki makes the panels from your descriptions. If you do, Clip Studio Paint has tools for panels and balloons, and ibis Paint X is a good free place to start.
Can I use an Apple Pencil with an iPhone?
No. The Apple Pencil only works with the iPad. On an iPhone, draw with your finger, or draw on paper and scan the pages.
Can I make a webtoon on iPhone?
Yes. Plan it one panel wide, make the panels, then post them in reading order. See the webtoon maker.
Can I print a comic I made on my iPhone?
Yes. In Emaki, export one image per page and print those. For paper pages, the scan from Notes is ready to print.
Make your first page
Got a script? Download Emaki, create your main character, and make your first page.